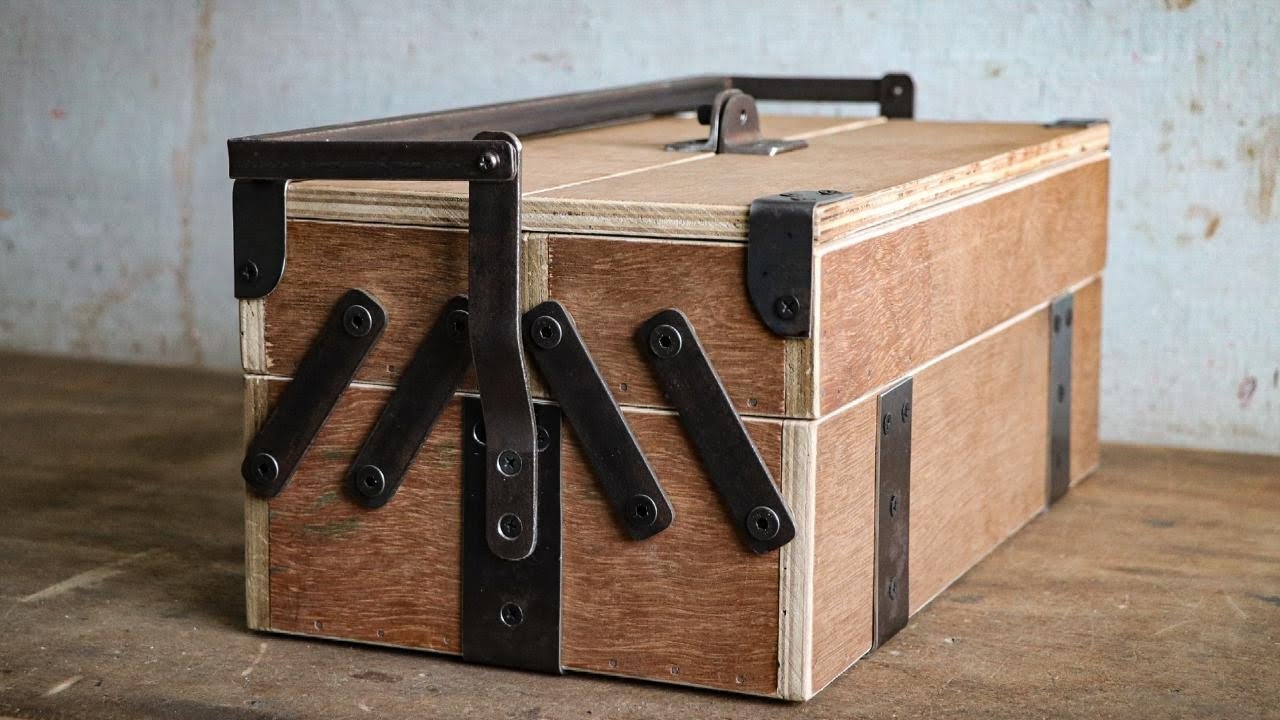
Let's face it, the world of tools can be a chaotic place. Hammers, screwdrivers, wrenches â€" they all seem to have a mind of their own, constantly disappearing into the abyss of your garage. But fear not, my fellow tool-loving friends! We can tame this beast with a project that’s both rewarding and useful: a DIY wooden toolbox.
Building a toolbox might sound intimidating, but trust me, it’s a surprisingly achievable weekend project. No need to be a master carpenter, just a bit of patience and some basic woodworking skills. Let's dive in!
Step 1: Gathering Your Arsenal
First things first, you'll need to gather your materials. This is where the fun part begins! You'll need:
Wood: Think sturdy, but not too heavy. Pine, cedar, or plywood are excellent choices. If you're feeling fancy, you could even go with oak or walnut, but be prepared for a heftier price tag. Aim for ¾" thick boards for the sides and bottom, and thinner boards for the lid. You can usually find everything you need at your local hardware store.
Tools: You'll need a saw (circular or hand saw), a drill, a screwdriver, clamps, measuring tape, a pencil, sandpaper, and a router (optional).
Hardware: Screws (for attaching the lid, sides, and bottom), hinges (to create a secure lid), a handle (for easy carrying), and some finishing touches like a latch or lock (optional).
Step 2: Planning Your Toolbox Design
Now that you have your arsenal assembled, it's time to get creative! This is where your toolbox's personality truly comes to life.
Size: Think about the tools you'll be storing. Do you need a large toolbox to accommodate power tools, or will a smaller one suffice for basic hand tools? Consider the size of your garage or workshop space too. You don't want a toolbox that dominates your workspace!
Shape: The classic toolbox is rectangular, but don't be afraid to experiment with different shapes. A circular toolbox could add a unique touch, or you could go for a more rustic design with a trapezoidal shape.
Features: Do you want your toolbox to have a removable tray for smaller tools? Maybe a built-in tool holder for specific tools like hammers or screwdrivers? This is your chance to personalize!
Once you've settled on the design, draw it out on a piece of paper. This will help you visualize the project and ensure you have the right measurements for each piece of wood.
Step 3: Cutting and Assembling Your Toolbox
Alright, let's get our hands dirty! This is where the saw and measuring tape become your best friends.
Cutting the Wood: Carefully cut the wood according to your design and measurements. Remember to allow for overlap when cutting the sides, bottom, and lid to ensure a secure fit.
Drilling Pilot Holes: Before attaching the pieces, drill pilot holes in the wood to prevent splitting. This is especially important for hardwoods.
Securing the Sides and Bottom: Attach the sides to the bottom using screws. Make sure the corners are aligned perfectly for a strong and sturdy construction.
Creating the Lid: Cut the lid to size, ensuring a snug fit over the toolbox. Attach hinges to the lid and the toolbox.
Step 4: Adding the Finishing Touches
You're almost there! Now comes the part where you really give your toolbox its personality.
Sanding and Finishing: Smooth out any rough edges with sandpaper. Then, give your toolbox a coat of stain or paint to protect the wood and add color.
Adding the Handle: Attach a handle to the top of the toolbox to make carrying it easier. There are a variety of handles available, from simple metal handles to more decorative wooden ones.
Optional Extras: Want to go the extra mile? You can add a latch or lock to the lid for extra security. Or, create a custom divider system inside the toolbox to keep your tools organized.
Step 5: Sit Back and Admire Your Creation!
Congratulations! You've just built a beautiful, functional, and personalized toolbox. Now, you can finally organize your tools with pride and say goodbye to the chaotic mess of your garage.
Tips and Tricks for Toolbox Success:
Plan Ahead: Take the time to plan your design before you start cutting wood. This will help you avoid mistakes and ensure a smooth build.
Measure Twice, Cut Once: This classic saying holds true for any woodworking project, especially when dealing with delicate cuts.
Use Clamps: Clamps are your best friend during assembly, ensuring that pieces stay securely in place while you screw them together.
Don't Rush: Take your time and enjoy the process. Building a toolbox is about the journey as much as the end result.
Building a wooden toolbox isn't just about creating a storage solution, it's about creating something unique that reflects your personality and woodworking skills. So, grab your tools, unleash your creativity, and build a toolbox that will serve you well for years to come!


0 comments:
Post a Comment