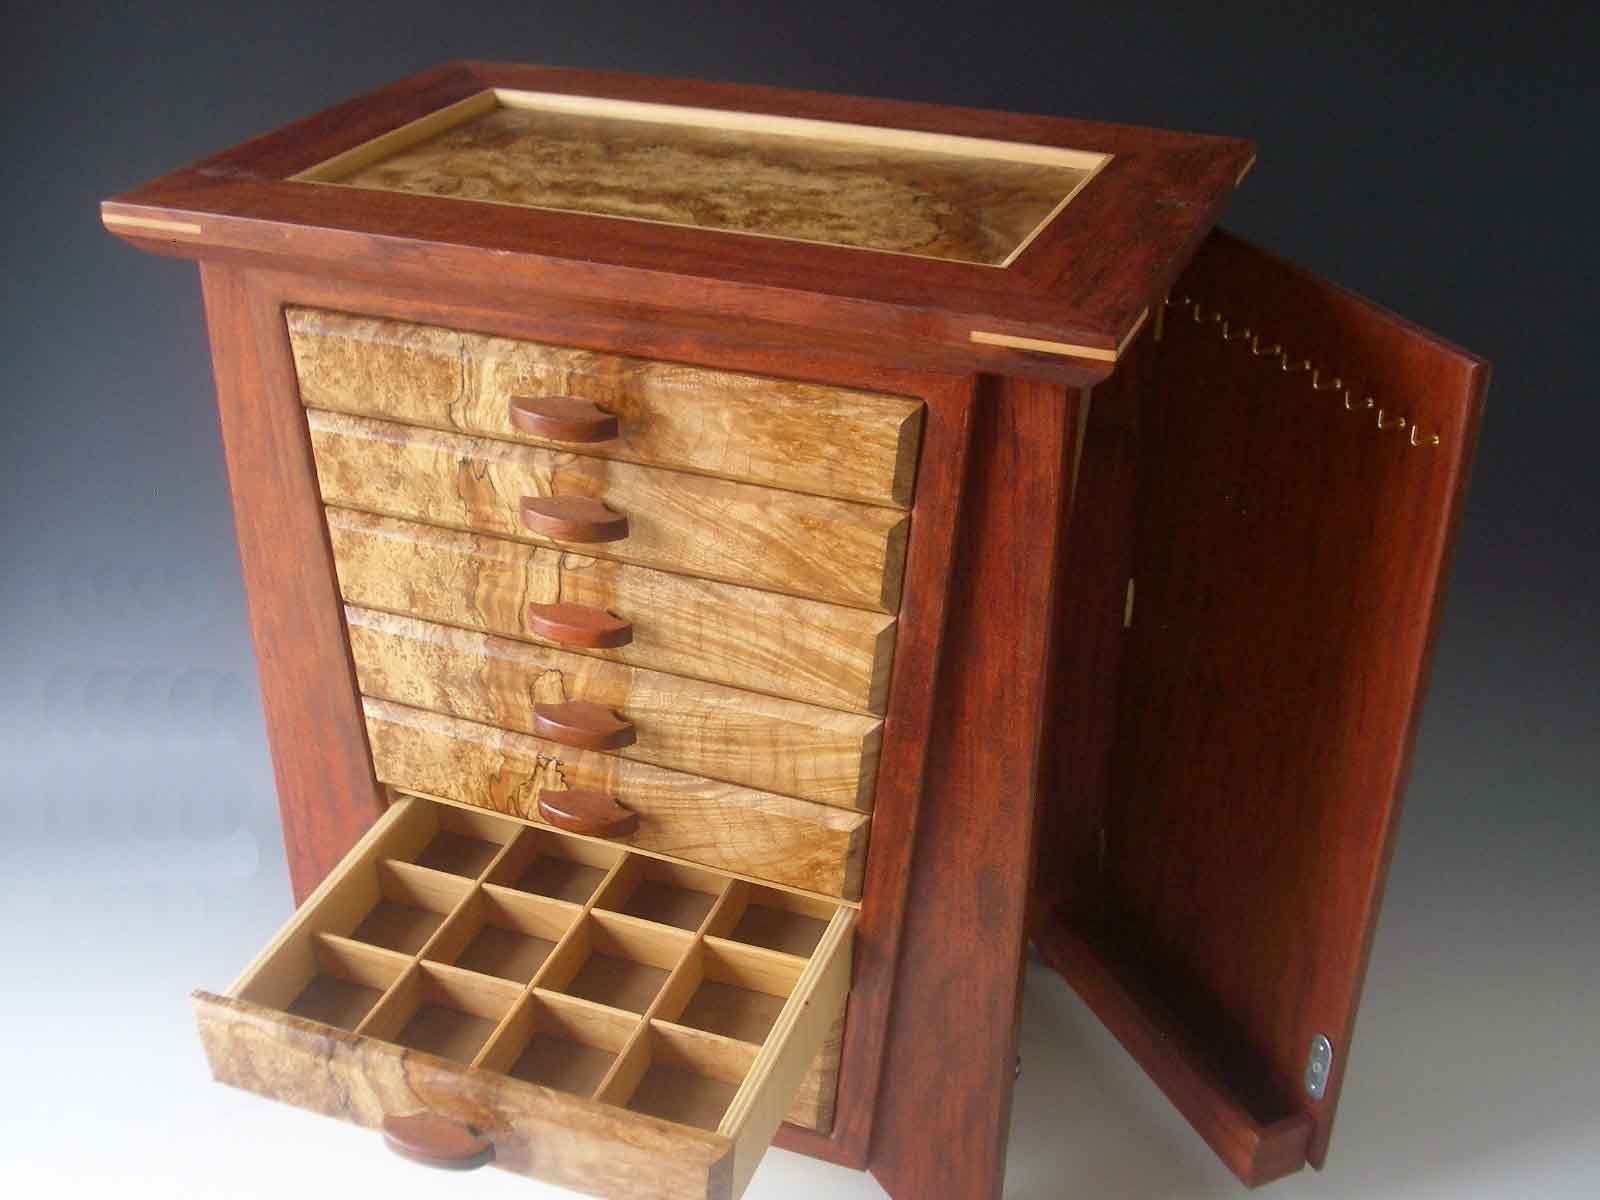
Alright, you wanna build a jewelry box, huh? One with compartments? That's awesome! I bet you've got a whole lotta baubles and trinkets that need a fancy new home.
Let's dive in, but first, let's make sure you have everything you need:
Materials:
Wood: You'll need some nice, sturdy wood for the box. Pine, plywood, or even some fancy hardwood like walnut or cherry would be great. Think about the style you want, and how heavy you want the box to be.
Glue: Wood glue, of course! Get some good stuff that's strong and won't warp the wood.
Screws: These will hold everything together, so make sure they're the right size for your wood. You might want some wood screws and some smaller ones for the compartments.
Finishing materials: Sandpaper (various grits), wood filler, paint or stain (if you want to color it), varnish or poly (to protect it).
Hardware: Hinges for the lid, and possibly some small drawer slides for the compartments.
Compartment dividers: You'll need wood for the dividers. You can use leftover pieces from the box or buy separate pieces of wood.
Tools:
Saw: A circular saw or jigsaw will be super helpful for cutting the wood. If you're really handy, maybe you have a table saw!
Drill: A cordless drill with various bits is a must-have.
Measuring tape: Important for getting the dimensions right.
Pencil: For marking your cuts and designs.
Clamps: These will help hold things together while the glue dries.
Sanding block: For smoothing out the wood.
Safety gear: Goggles, gloves, and a dust mask are essential when working with wood.
Okay, now let's get to the good stuff!
1. Planning and Design:
Size: Think about how much jewelry you need to store. Do you want a big box or a small one? Do you want it to be rectangular or square?
Shape: Do you want a simple box or a box with some fancy curves? Maybe you want to try making a heart-shaped box!
Compartments: How many compartments do you want? What size should they be? Do you want them to be fixed or removable?
Lid: Do you want a hinged lid or a sliding lid?
Finishing: Do you want to paint the box, stain it, or leave it natural?
2. Cutting and Assembly:
Cut the pieces: Using your saw, carefully cut the wood for the box and compartments. You'll need two pieces for the sides, two pieces for the front and back, and two pieces for the bottom. You'll also need to cut pieces for the compartment dividers. Make sure all your cuts are precise and at 90-degree angles.
Drill pilot holes: Before you start screwing anything together, drill pilot holes slightly smaller than the diameter of your screws. This will help prevent the wood from splitting.
Glue and screw: Apply wood glue to the edges of the pieces and clamp them together. Then screw them together using your screws. You might want to use wood glue to attach the dividers to the sides, or to attach a bottom to your compartments.
3. Creating the Compartments:
Plan it out: Draw out where you want your compartments to be on the inside of the box. Remember, you'll need to leave space for the dividers, so you might have to adjust your design slightly.
Cut dividers: Using your saw, cut the pieces for your compartment dividers. Make sure they fit snugly inside the box.
Attach dividers: You can use screws, glue, or a combination of both to attach the dividers to the box.
4. Finishing the Box:
Sanding: Use sandpaper to smooth out the box and any rough edges. Start with a coarser grit and then work your way up to a finer grit.
Filling: Use wood filler to fill in any holes or gaps in the wood. Let the filler dry completely before sanding it smooth.
Painting or Staining: If you want to paint the box, make sure the wood is clean and dry. Apply several thin coats of paint, allowing each coat to dry completely before applying the next. If you want to stain the box, make sure the wood is clean and dry. Apply a thin coat of stain and let it dry according to the manufacturer's instructions.
Varnishing or Polyurethane: Apply a coat of varnish or polyurethane to protect the wood. This will help to prevent scratches and water damage. Let the finish dry completely before handling the box.
5. Installing Hardware:
Hinges: Install the hinges on the lid of the box. Make sure they are aligned properly and that the lid opens and closes smoothly.
Drawer slides: If you're using drawer slides, install them on the compartments and the box. Make sure the compartments slide in and out smoothly.
Now you're ready to enjoy your beautiful new jewelry box!
Extra Tips:
Take your time: This project might take a bit longer than you think. Don't rush it, and enjoy the process.
Measure twice, cut once: This is an old saying, but it's true! Double-check your measurements before you start cutting.
Practice makes perfect: If you're new to woodworking, start with a simple design and gradually move on to more complex ones.
Don't be afraid to experiment: Have fun with it and be creative. You can add your own personal touches to the box to make it truly unique.
I hope this was helpful! Now get out there and build that jewelry box!


0 comments:
Post a Comment