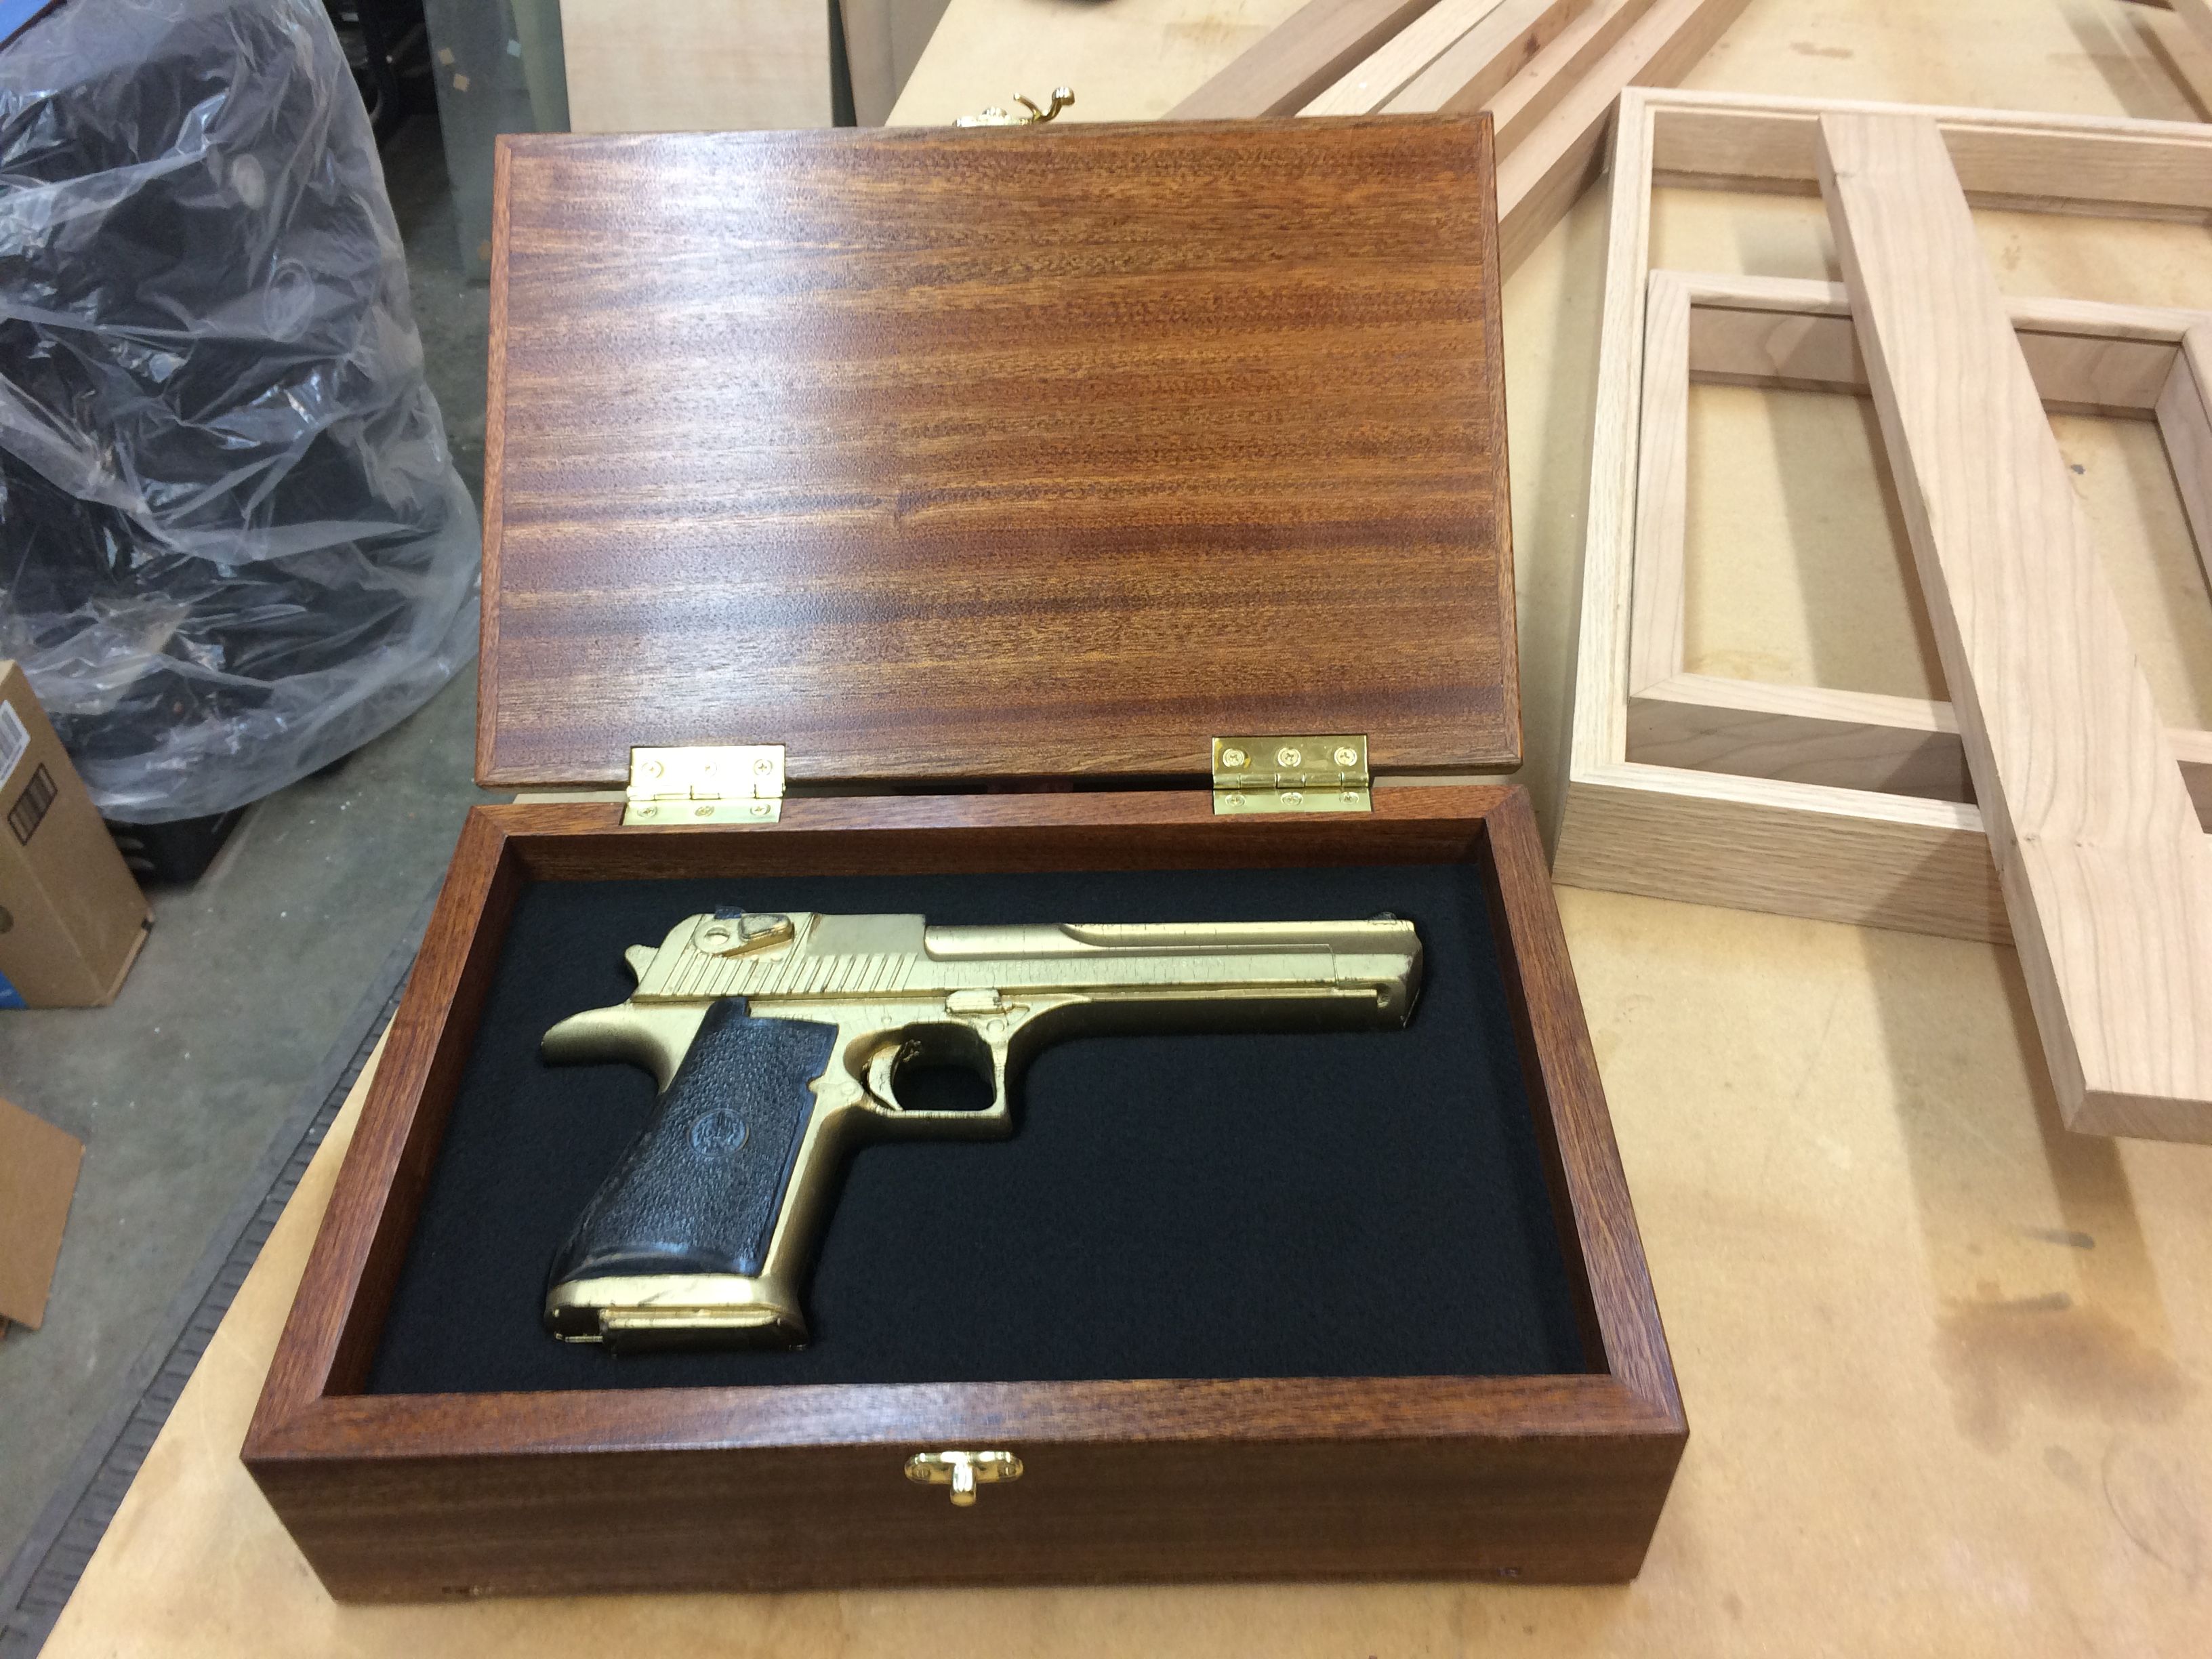
Building a Wooden Gun Case with a Glass Front
A custom-built wooden gun case with a glass front is a beautiful and functional way to display your prized firearms. It offers protection, security, and a touch of elegance to your collection. This guide will walk you through the process of constructing such a case, from material selection to finishing touches.
Materials and Tools
Materials
You will need the following materials:
- Wood for the case: Consider using hardwoods like walnut, cherry, or maple for durability and aesthetics. You can also use plywood for a more affordable option.
- Glass for the front panel: Choose tempered glass for safety and strength. The thickness should be based on the size and weight of the firearms you intend to display.
- Hinges: Choose heavy-duty hinges designed for wooden doors.
- Latch and lock: Select a secure latch and lock that complements the design of your case.
- Felt or foam for lining: This provides cushioning and prevents scratches on your firearms.
- Wood glue: Use a high-quality wood glue for strong bonds.
- Wood screws: Use screws appropriate for your wood type and thickness.
- Finishing supplies: This includes wood stain, wood filler, sanding paper, varnish or polyurethane, and cleaning cloths.
Tools
You will need the following tools:
- Table saw: For accurate cuts.
- Miter saw: For precise angled cuts.
- Router: For creating decorative edges and rabbets.
- Drill press: For drilling pilot holes and precise holes for hinges and latch.
- Clamps: To secure pieces while gluing.
- Sandpaper: For smoothing surfaces and removing imperfections.
- Measuring tape, pencil, and square: For marking and measuring.
- Safety glasses and dust mask: For personal protection.
Design and Planning
Before you start building, you need to plan your design and dimensions. Consider the following:
- Size: Determine the length, width, and height needed to accommodate your firearms comfortably.
- Style: Choose a style that complements your decor and personal preferences. This could include traditional, modern, or rustic designs.
- Features: Decide if you want additional features like compartments for ammunition, cleaning supplies, or a display shelf.
- Budget: Set a budget to guide your material choices and construction process.
Create a detailed sketch or diagram of your design, including precise measurements for each component. This will be your guide throughout the construction process.
Construction Process
Cutting and Assembling the Case
Follow these steps to cut and assemble the case:
- Cut the base and sides: Cut the base and side panels according to your design. Ensure all cuts are precise and square.
- Create rabbets for the glass: Use a router to create a rabbet (a groove) around the inside edge of the front panel. This will hold the glass securely.
- Assemble the case: Glue and clamp the sides to the base. Use screws to reinforce the joints. Apply wood glue to the joints and clamp them firmly.
- Add the top and bottom: Cut the top and bottom panels and attach them to the sides. Be sure to create a snug fit for the glass panel.
Installing the Glass Panel
Once the case is assembled, install the glass panel:
- Cut the glass: Have the glass cut to your exact specifications by a professional glass cutter.
- Apply sealant: Apply a bead of sealant to the rabbet around the inside of the front panel.
- Insert the glass: Carefully insert the glass into the rabbet. Ensure it fits snugly.
- Secure the glass: Use additional sealant or glass clips to hold the glass securely in place.
Adding Hinges, Latch, and Lock
Follow these steps to install the hinges, latch, and lock:
- Mark and drill hinge holes: Mark and drill pilot holes for the hinges using a drill press.
- Attach hinges: Attach the hinges to the front panel and the case. Ensure the hinges are flush and aligned.
- Install the latch and lock: Mark and drill holes for the latch and lock. Install them securely using screws.
- Test the door: Ensure the door opens and closes smoothly and the lock functions properly.
Finishing Touches
Once the construction is complete, you can add finishing touches to your case:
- Sand the case: Sand the entire case smoothly using progressively finer grits of sandpaper.
- Apply wood filler: Fill any imperfections or gaps with wood filler.
- Stain the case: Apply a wood stain according to the manufacturer's instructions.
- Finish the case: Apply several coats of varnish or polyurethane to protect and enhance the wood's finish.
- Line the interior: Cut and install felt or foam lining inside the case to protect your firearms.
Tips and Safety Precautions
- Work in a well-ventilated area: Ensure proper ventilation when using wood stains, varnish, or polyurethane.
- Wear safety glasses and a dust mask: Protect your eyes and lungs from dust and particles.
- Use a dust collector: Use a dust collector to minimize dust buildup.
- Measure twice, cut once: Ensure accurate measurements to prevent errors.
- Clamp securely: Use clamps to hold pieces together during gluing.
- Take your time: Building a wooden gun case requires patience and precision.
By following these steps, you can create a beautiful and functional wooden gun case with a glass front. Remember to prioritize safety and take your time throughout the process to ensure a high-quality finished product. You can customize your case to reflect your personal style and create a unique display for your valuable firearms.


0 comments:
Post a Comment